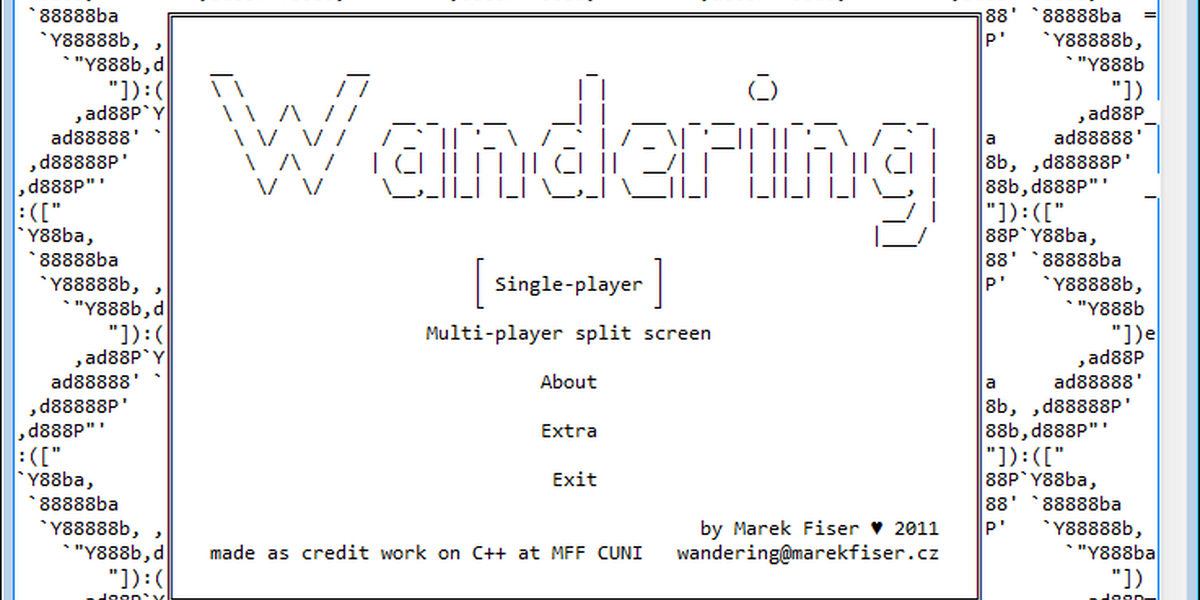
Wandering
Wandering is a generic maze generator, solver, and game playable in a console. It supports hexagonal and rectangular mazes and two types of maze generators. Cool thing is that the maze type is independent of the solver. Every solver can solve every type of maze. It is possible to define new maze types, generators, and solvers. Another cool feature is the UI system in a console including menus, text boxes, windows, and screen manager. This was my first larger program written in C++.
Source code is available on GitHub: NightElfik/Wandering
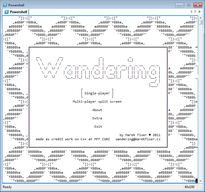
Main screen. 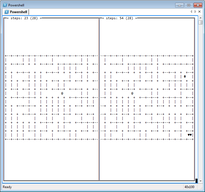
Multi-player game-play screen. 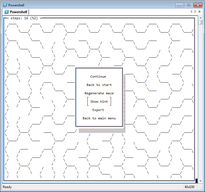
Hexagonal maze with game menu. 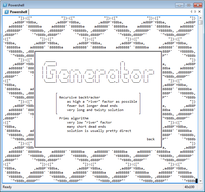
Generator screen. 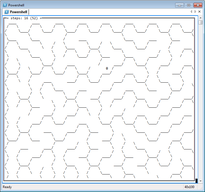
Hexagonal maze. 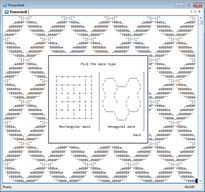
Maze-type screen.
Introduction
This project was made as a final project to my undergrad C++ class at Charles University in Prague. The reason why I am listing it here is because it has some cool features close to simple game engine. In this report I will just briefly explain some features and design decisions. Feel free to check out the code on GitHub but be warned — it was my first project in C++ so the code looks accordingly.
Features
The main design goal was to make the program extensible. I do not like hardcoding stuff so this was a little exercise. In this chapter I will list main features of the program and outline the main ideas behind the design.
Screen buffer
This game has console interface.
The ScreenBuffer class is used simplify rendering and serves as a character buffer with some handy operations.
It also abstracts the actual console interface even though the abstraction is not perfect.
Code listing 1 shows basic header of the ScreenBuffer class.
There are functions for setting characters as well as drawing strings and even borders for windows.
The crucial part of the class is the method flush.
The game redraws the whole screen on every action and the problem is that standard
std::cout is rather slow and screen blinks a lot.
I have solved it by using printf which turned out to be roughly 1000 times faster.
1
2
3
4
5
6
7
8
9
10
11
12
13
14
15
16
17
18
19
20
21
22
23
class ScreenBuffer {
private:
	char* _buffer;  // The main buffer.

public:
	ScreenBuffer(int width, int height);
	~ScreenBuffer();

	char GetCharAt(int x, int y);
	void SetCharAt(int x, int y, char c);

	int PrintStringAt(int x, int y, const std::string& str);
	int PrintIntAt(int x, int y, int value);

	void Clear();
	void ClearArea(int x, int y, int width, int height);

	void DrawBorder(int left, int top, int right, int bottom);
	void DrawBorderWithShadow(int left, int top, int right, int bottom);
	int DrawBorderText(int x, int y, const std::string& str);

	void Flush();  // Prints whole buffer into console.
};
Screen manager
While the ScreenBuffer handles low level printing the ScreenManager
class handles the screens.
Everything that is displayed is a screen — a menu, game world, or credits.
The ScreenManager keeps a stack of screens and renders them from bottom to top.
This ensures that screens are sorted correctly.
User input is sent only to the top-most screen.
Basic operations of the ScreenManager class are pushing and popping of a screen.
For example if you click Escape key in the game an in-game menu is pushed on the stack.
The game is still displayed on the background but all input is now redirected to the menu screen.
1
2
3
4
5
6
7
8
9
10
11
12
class ScreenManager {
private:
	std::vector<IScreen*> _screens;

public:
	void AddScreen(IScreen* screen);
	void RemoveTopScreen();
	int GetScreensCount();

	bool KeyPressed(int key);
	void PrintScreens(ScreenBuffer* screenBuff);
};
Every screen has to derive from IScreen interface (naming from C# :).
Three key methods have to be overridden: RenderLowerScreens, KeyPressed, and Print.
The RenderLowerScreens method returns a bool whether to render screens below.
This is useful for storing screens in the stack for later.
For example the main screen is always on the screens stack.
When new game is started the game screen is just put on top of it.
The game screens returns false from RenderLowerScreens method to not render any screens below
because it fills the whole buffer anyways.
This saves useless rendering if main menu and background.
The KeyPressed is just to process user input.
As already mentioned, only the top most screen gets to handle user input.
Finally, the Print method prints the screen to given ScreenBuffer.
1
2
3
4
5
6
7
8
9
10
class IScreen {
public:
	virtual ScreenManager* GetScreenManager() = 0;
	virtual void SetScreenManager(ScreenManager* manager) = 0;

	virtual bool RenderLowerScreens() = 0;
	virtual bool KeyPressed(int key) = 0;

	virtual void Print(ScreenBuffer* buffer) = 0;
};
Menu system
The MenuScreen is implemented as a subclass of the IScreen interface.
It has methods for adding and selecting menu items.
Individual menu items are behind another layer of abstraction.
This allows to have many different menu items such as text boxes, labels, buttons, or headings.
1
2
3
4
5
6
7
8
class MenuScreen : public IScreen {
protected:
	std::vector<IMenuItem*> _menuItems;

public:
	void SetSelectedItemIndex(int index);
	void AddMenuItem(IMenuItem* menuItem);
};
The IMenuItem defines all necessary properties of a menu items such as size, align, and focusability.
Based on those properties the MenuScreen decides how big the menu has to be
and where individual menu items will be rendered.
For the menu items there are: TextMenuItem, TextBoxMenuItem,
and ImageMenuItem.
If you are interested in the implementation please refer to the source code.
A button is just TextMenuItem with a callback action on Enter key.
1
2
3
4
5
6
7
8
9
10
11
12
13
class IMenuItem {
public:
	enum Align { Left, Center, Right };

	virtual bool IsFocusable() = 0;

	virtual void GetSize(int& outWidth, int& outHeight) = 0;
	virtual Align GetAlign() = 0;
	virtual int GetYOffset() = 0;

	virtual bool KeyPressed(int key) = 0;
	virtual void PrintAt(ScreenBuffer* buffer, int x, int y) = 0;
};
AsciiFont
I hate hardcoding stuff.
Instead of creating all captions as ImageMenuItem I have actually implemented a class
AsciiFont that is able to convert text to big ASCII letters.
Thanks to this feature I have included nice big ASCII captions nearly everywhere.
I have also created an editor where you can type text and it gives you your text converted as big ASCII caption. You can find the feature in the main menu under "Extra" item. This class also contains a hit for one of the easter eggs :)
1
2
3
4
5
6
class AsciiFont {
public:
	static void MeasureText(const std::string& text,
		int& outAsciiWidth, int& outAsciiHeight);
	static std::string ConvertText(const std::string& text);
};
1
2
3
4
5
6
7
8
_______________________________________________________________________________________
|                        _  _                 _                   _                   |
|      /\               (_)(_)               | |                 | |                  |
|     /  \    ___   ___  _  _     __ _  _ __ | |_    _ __  _   _ | |  ___  ____ ____  |
|    / /\ \  / __| / __|| || |   / _` || '__|| __|  | '__|| | | || | / _ \|_  /|_  /  |
|   / ____ \ \__ \| (__ | || |  | (_| || |   | |_   | |   | |_| || ||  __/ / /  / /   |
|  /_/    \_\|___/ \___||_||_|   \__,_||_|    \__|  |_|    \__,_||_| \___|/___|/___|  |
|_____________________________________________________________________________________|
Generic maze definition
A maze implementation is hidden below an abstraction layer provided by the interface IMaze.
The goal was to enable different maze topologies and allow generic maze generation and solving.
The game implements two types of mazes — rectangular and hexagonal.
I am not sure how generic this representation is but I think that it can represent a lot of different topologies in 2D.
I won't talk more about the mazes here. The only think I would like to mention is that the implementation of hexagonal maze was a little bit tricky, especially the rendering part. Please check out the sources if interested.
1
2
3
4
5
6
7
8
9
10
11
12
13
14
15
16
17
18
19
20
21
class IMaze {
public:
	virtual void GetAsciiSize(int& outWidth, int& outHeight) = 0;

	virtual void GetCellIdUniverse(int& outMinId, int& outMaxId, bool& outIsContinous) = 0;
	virtual int GetStartCellId() = 0;
	virtual int GetEndCellId() = 0;

	// Methods for movement and rendering.
	virtual char GetAsciiCharAt(int x, int y) = 0;
	virtual bool CanPlayerStepAt(int x, int y) = 0;
	virtual int GetCellIdByCoords(int x, int y) = 0;
	virtual void GetCoordsbyCellId(int cellId, int& outX, int& outY) = 0;

	// Methods for maze solving.
	virtual int GetNeighboursOf(int cellId, std::vector<int>& outNeighbours) = 0;
	virtual int GetWalledNeighboursOf(int cellId, std::vector<int>& outNeighbours) = 0;

	// Methods for maze generation.
	virtual void SetWallStateBetween(int cellId1, int cellId2, bool wallState) = 0;
};
Maze generators
The interface IMazeGenerator that represents generic maze generator is quite boring.
The implementations itself are more interesting.
I have implemented two maze generators:
Recursive back tracker,
and Prim's algorithm.
The IMaze interface exposes neighborhood information through the GetNeighboursOf
method so any other algorithm based on graph theory can be implemented.
1
2
3
4
5
6
7
class IMazeGenerator {
public:
	virtual unsigned int GetRandomSeed() = 0;
	virtual void SetRandomSeed(unsigned int seed) = 0;

	virtual void Generate(IMaze* maze) = 0;
};
Maze solvers
The interface IMazeSolver is even more boring than the IMazeGenerator.
I have implemented only single implementation that uses the recursive back-tracking algorithm.
There is actually no pint in implementing more algorithms because solving is used only for hinting the player
the right direction.
1
2
3
4
5
class IMazeSolver {
public:
	virtual int Solve(IMaze* maze, int fromCellId, int toCellId,
		std::vector<int>* outPath = nullptr) = 0;
};
Conclusion
I wrote this report four years after the code and I have to say that I am quite surprised by the quality of the design. This is not always true when I am reading mine old code. Also remember that this was one of many class assignments in my first C++ class. Of course the C++ specific parts are somewhat questionable like including C++ files but I got that figured by now.
Code
You can find full code published under Public Domain on the GitHub.
